The students have been delving deeper into our inquiry of how we are all connected through water. We have written and read stories about water, looked at the science of water, and looked at how different Canadian communities are impacted by various water issues.
As part of this inquiry, the students have been looking at the formations that snowflakes can take. We have been constructing snowflakes out of pattern blocks, and geo-boards, and figuring out the math that is imbedded in this....
Our snowflake art has been a thought out process of incorporating our mathematical shape and space studies into a meaningful context of our study of water. The grade 5 team of teachers met with our learning leader and a math specialist to develop the steps in constructing snowflakes through our mathematical studies. We determined that the following learning outcomes would be met:
General Outcome: Describe the characteristics of 3-D objects and 2-D shapes, and analyze the relationships among them.
Describe and provide examples of edges and faces of 3-D objects, and sides of 2-D shapes that are:
- parallel
- intersecting
- perpendicular
- vertical
- horizontal.
- Identify 90º angles.
We began by looking at 'what is a snowflake?'
Find out how water molecules work in this video from TED ED
You can learn more about snowflake designs and science:
Images of snowflakes
BioInteractive website about snowflake formation
Have students use black paper and magnifying glasses to collect and observe snowflakes outside. Try to observe as many different snowflakes as possible. (TIP: leave black paper outside for a couple hours before using it so it freezes and snowflakes last longer on it!!)
We determined that the molecular structure of snowflakes create a hexagon. We looked at what a hexagon is and how we can build hexagons using different math manipulatives.
We used the hexagon pattern block beginning to create snowflake patterns. We discovered that the pattern blocks when added together were always multiplies of 6 with one extra block for the middle.
Student then used geoboards to construct different regular polygons to develop snowflake shapes. Students identified which grid (triangular or square) would work for which polygon. Students worked on constructing a set of rosetta challenges (stars embedded into polygons) to explore relationships between the grid and different polygons. Students document their work on isometric and square dot paper, designing their own symmetrical patterns with at least 2 lines of symmetry, documenting and describing their designs using mathematical vocabulary.
A guide to snowflakes
A guide to snowflakes
our Compass work:
Our purpose was for students to get familiar with the tools that will be used for art/math explorations in the future. As well as to develop and apply geometric vocabulary and understanding to construct a snowflake.
The first task we asked students to try was to use only the tools of: paper, pencil(s) and your hands (you can’t use anything else) to draw a perfect circle.
We discussed what a perfect circle is. The “official” definition of a circle is: all points are the same distance from the center. We learned that the distance from the middle to the circumference is called a radius. The distance across a circle is a diameter.
Students had 5 to 10 minutes to try to draw a perfect circle. Some of my students after 5 minutes invented a compass using 2 pencils and shared/taught their idea to pretty much the rest of the class.
We introduced a compass and students were asked to practice making shapes and designs with the compass.
Some support was needed for students through taking turns “holding the middle” and “moving the pencil”, so they can get a feel for how it is supposed to work.
We then gave the students the challenge to construct an equilateral triangle using only compass and ruler. The students discovered the terms for regular and irregular polygons, and equilateral triangle.
The students looked at Euclid's drawing of how he drew an equilateral triangle: http://www.math.ubc.ca/~cass/Euclid/book1/images/bookI-prop1.html
The students looked at Euclid's drawing of how he drew an equilateral triangle: http://www.math.ubc.ca/~cass/Euclid/book1/images/bookI-prop1.html
We learned how to make other exact shapes with only a compass and ruler (very much like the greeks who invented geometry).
We learned how to make a hexagon with a compass and ruler.
We learned how to make a hexagon with a compass and ruler.
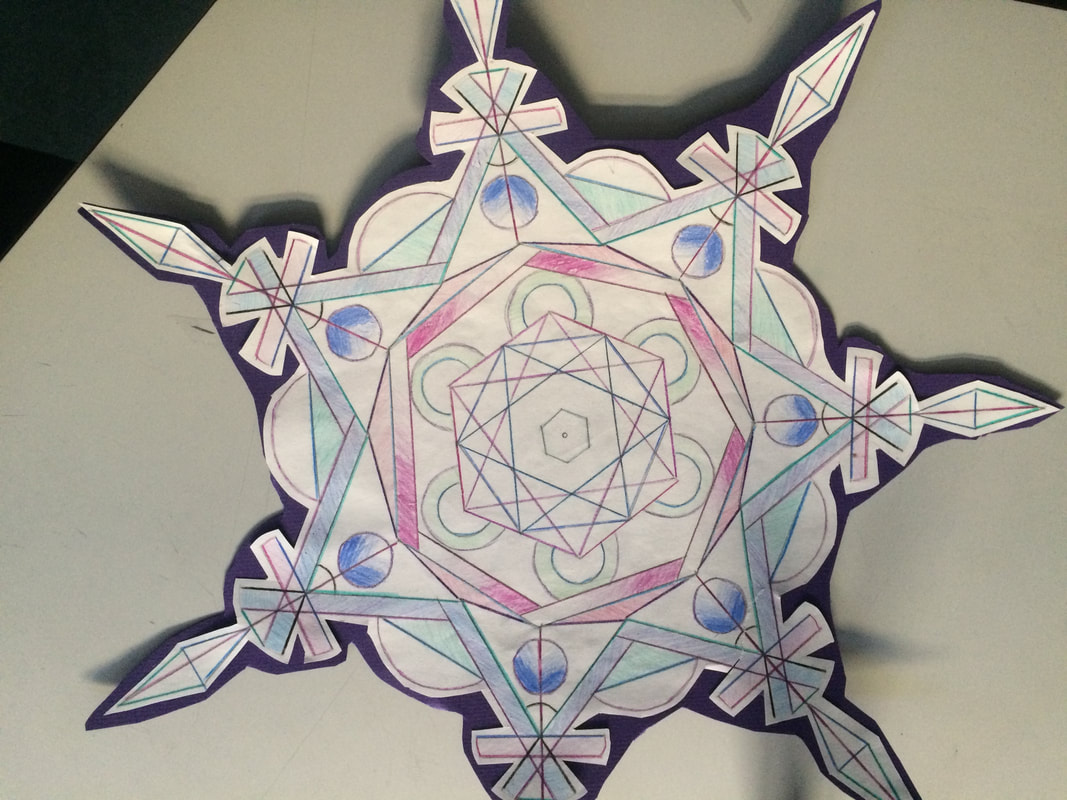
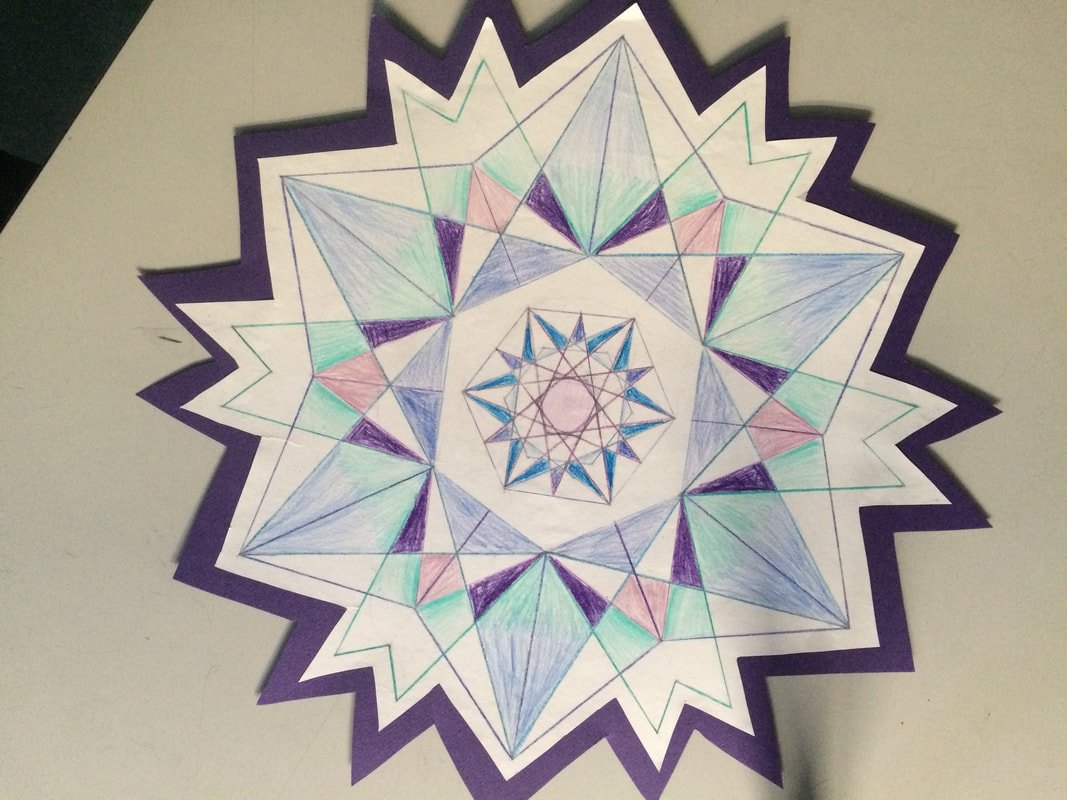
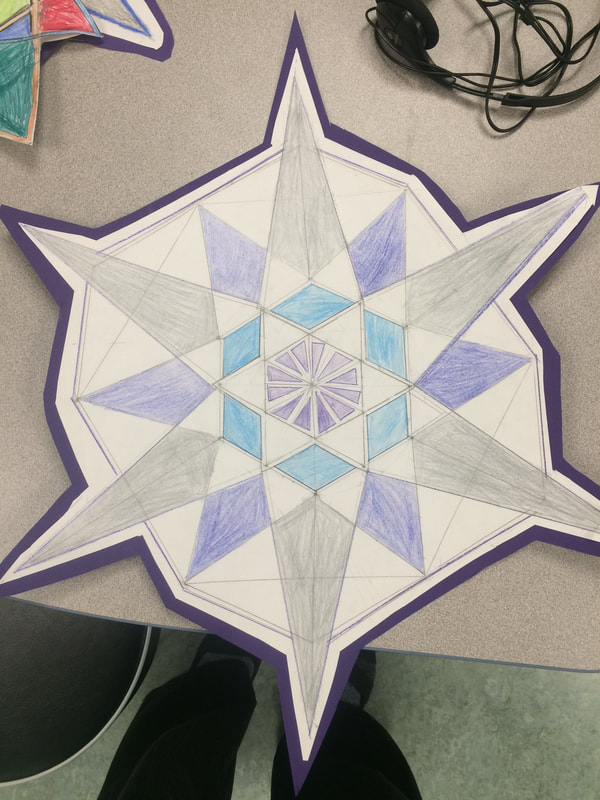
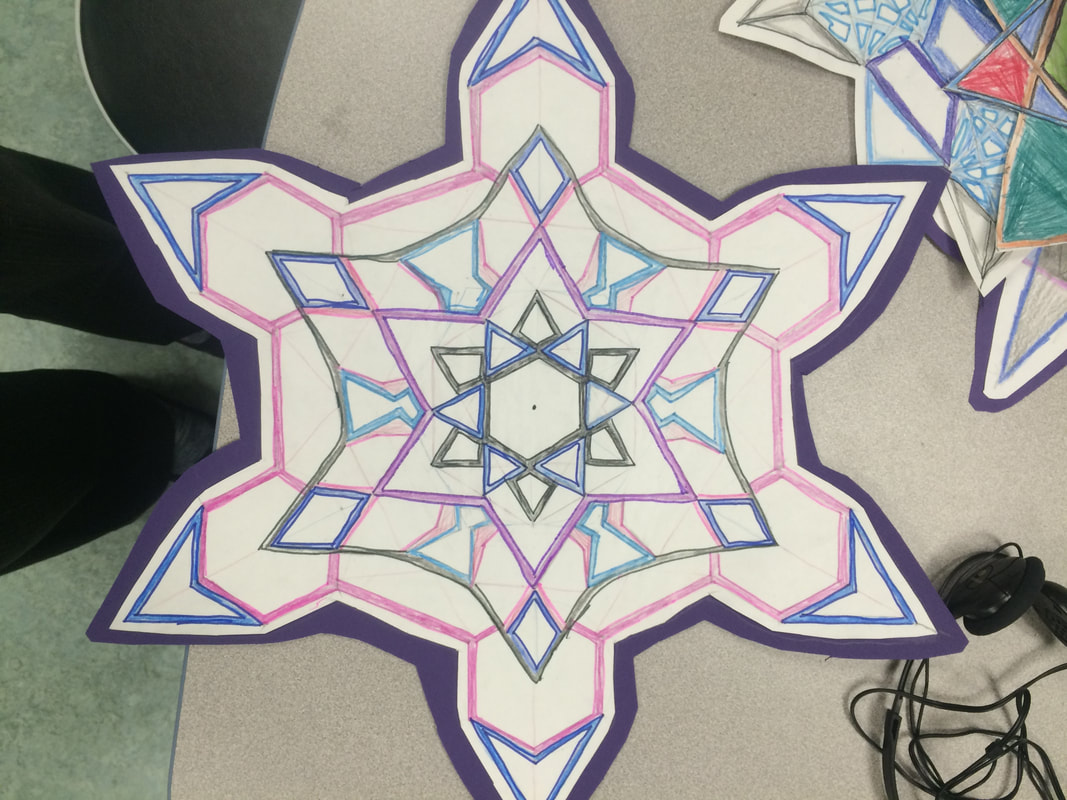
Using all the math skills we have been working on the students began to make snowflakes:
We looked at the difference between constructing and drawing. We discovered that for our snowflakes to be mathematical they needed to be constructed and exact.
We developed the rule that only new circles could be created where two lines intersect. You will notice that it was challenging to be exact and when circles where not drawn exactly it made the snowflake design not be symmetrical.
We developed the rule that only new circles could be created where two lines intersect. You will notice that it was challenging to be exact and when circles where not drawn exactly it made the snowflake design not be symmetrical.
Criteria for excellence was developed with the students:
- Has to have a hexagon in the centre
- Really colourful with a lot of effort put into it.
- Not giving up- Kept working -extended the basics.
- Exact (laser like lines).
- Complex but symmetrical.
- Challenging yourself, and trying to make it more complicated.
- All lines connected to intersecting line
- Detailed and complexed
- Stands out (wow factor). Taking a simple pattern and making into a more complex pattern.
- Detailed pattern